Final Project
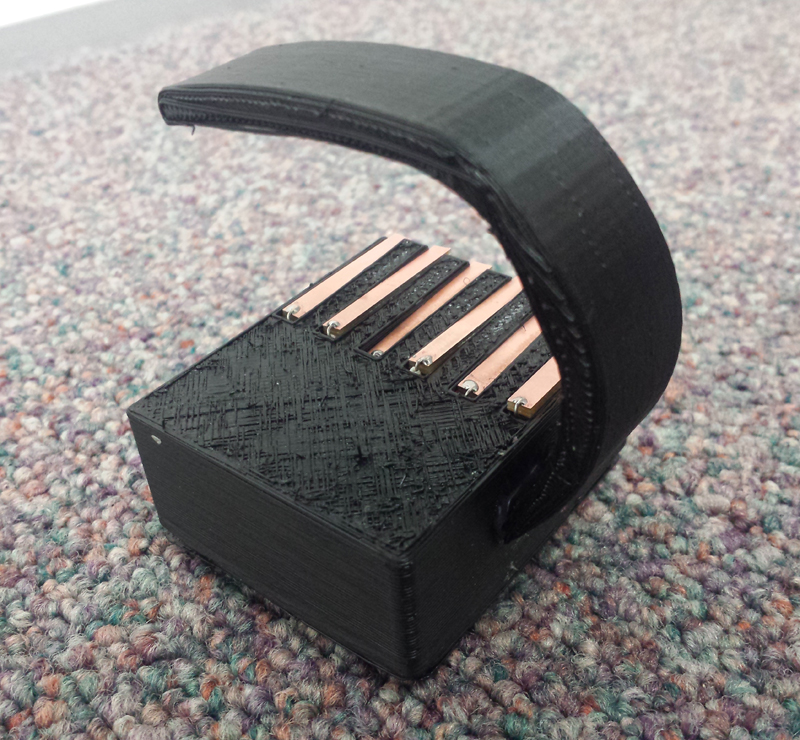
As mentioned in previous weeks I'm planning to build a wristband that can turn my hand into a controller. At the bottom part of the wristband there are tiny copper plates connecting to the copper foil stickers on my hand so that the microprocessor would know which fingers I'm currently touching and trigger different functions


I started with the electronics part. The circuit is actually pretty basic. My thumb will be connected to the GND and the other fingers will be connected to different I/O pins of a 328p. Therefore when the thumb touches other finger it will bring a "LOW" signal to the corresponding pin.It also consists of a 1.27" OLED, 3.7V 150mAh LiPO Battery and Bluetooth HC-05 module. I modified the fabduino board so that a JST 2-PIN Connector (for LIPO Battery) can be used and also arranged the position of the pins. I originally thought that since I'm a using a 3.7v LIPO Battery, I might need a voltage regulator so there is a space for voltage regulator on the board. However I found out that I actually don't need that.


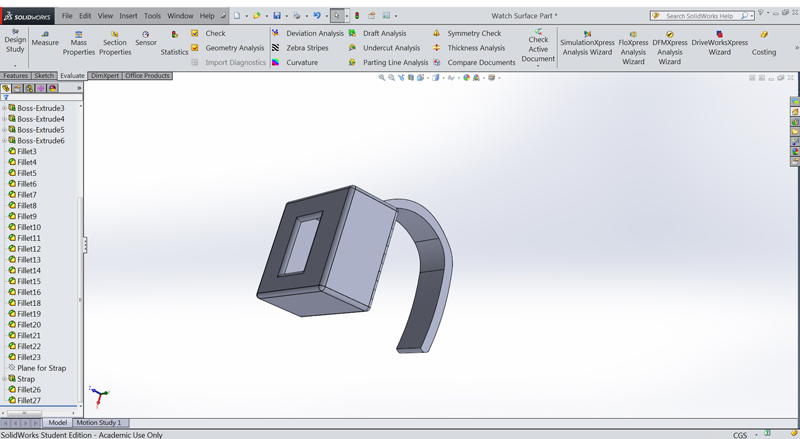
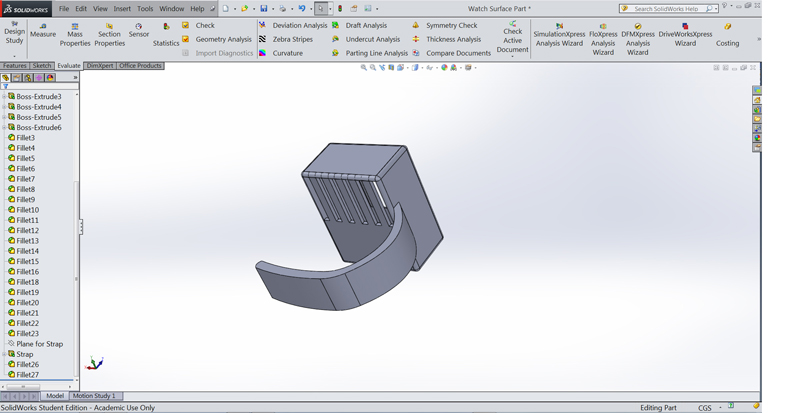
Once the electronics part is done I started to do the 3D Design in Solidworks for the wristband.
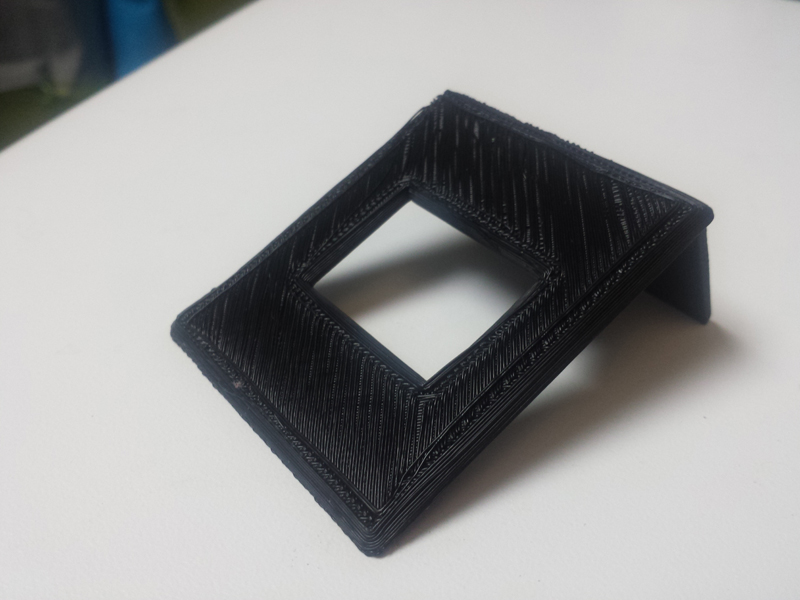
The gaps at the bottom are for the copper plate to be in contact with the copper foil on my hand.
I then went to do the 3D Printing. The makerbot at the CBA shop was out of order and I also missed the deadline for the big 3D Printing machine. Fortunately my classmate Anne borrowed me a Makerbot. There were some strange errors in the begining that the printing always stop at a particular point (around 2% of the progresss) and that was pretty frustrating. I later found online some people saying that makerbots have issues with some SD card so I tried to switch to another SD card. Then it worked fine!
For the printing I divided my wristband into 3 parts:
 Top
Top
 Bottom
 Strap
Strap

The Electronics part fit in pretty well

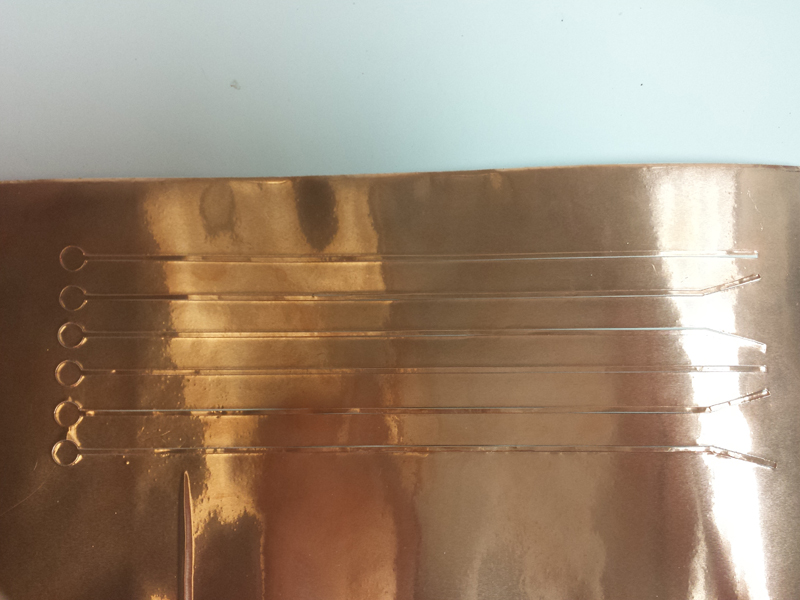
Then I went to the SHOP to mill the tiny copper plates for the bottom of the wristband

I tested miliing diferent sizes and found one that fits really well

There are 6 copper boards. 1 of them for GND and other 5 for input from copper foil on skin.

I soldered the copper board to the wires connected to the board


I then started to work the copper foil stickers. I designed the shapes in CorelDraw and vinyl cut them. I used 50g for force and 3cm/s for speed. It works perfectly.


Actually before I tried Copper Foil, I had a lot of experiments with copper leaf. It's much thinner and when combined with temporary tattoo paper it looks really cool. However, there is a problem that the copper leaf is very delicate and during the process of transferring to temporary tattoo paper there was a lot of them peeling off. This might potentially lead to incomplete circuit and also due to time constraints I decided to come back to "copper tattoo" later after the final project.


Anyway almost done!

I created a very simple interface to interact with. Also although I got Bluetooth module in it and I can successfully connect it to the smartphone, I didn't create any applications for that this time.. I will definitely play more with that in the future.